


In this guide you will learn how to fork, configure and deploy your own Solana AMM web user interface.
What is Solana?
Solana is Web-Scale Blockchain for Secure and Scalable Decentralized Apps and Marketplaces, you can learn more about it here .
What is an AMM?
An automated market maker ( AMM ) is a system that provides liquidity to the exchange it operates in through automated trading.
Prerequisites
- A GitHub account
- React basics
- Yarn
- Solana Swap Program basics
- A Sollet Wallet with funds (you can use the test network)
- A SOL Address
Considerations
⚠️ Remember this swap is not audited so use it at your own risk.
Step 1:
Go ahead and fork this project into your GitHub account.
This will be necessary to deploy the page in further steps.
Step 2:
Open the terminal and clone the project in your local machine
git clone https://github.com/<your-user>/oyster-swap.git
Step 3:
Go inside the oyster-swap folder and install the dependencies
cd oyster-swap
yarn
Step 4:
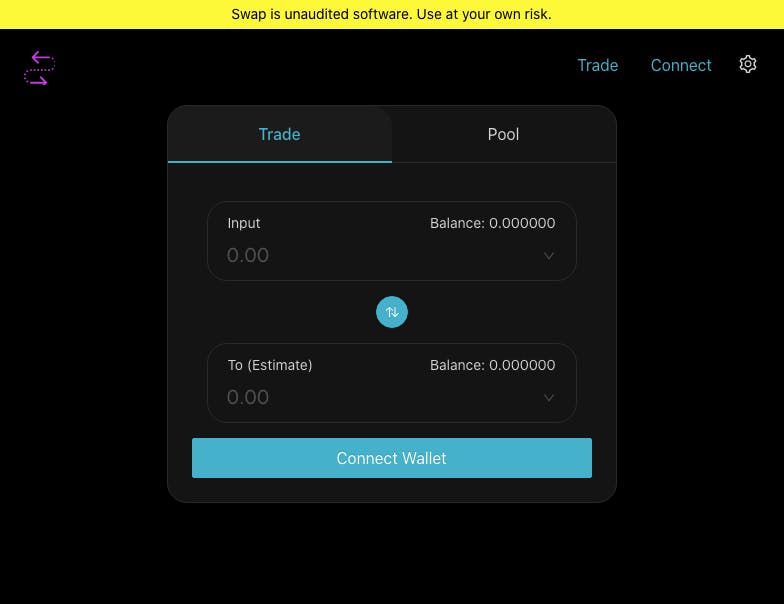
Let's give it a try. Run the yarn start command.
At this point you should see this interface if you visit http://localhost:3000/
Step 5:
Now is time to configure the required swap fee addresses. Go to the token swap documentation and copy the fee owner address.
Then go to the project source code, open the .env file, look for the SWAP_PROGRAM_OWNER_FEE_ADDRESS variable and paste the address as a value.
It should look similar to this
SWAP_PROGRAM_OWNER_FEE_ADDRESS='HfoTxFR1Tm6kGmWgYWD6J7YHVy1UwqSULUGVLXkJqaKN'
This is the address used to distribute fees to owner of the pool program.
Step 6:
Copy your SOL address and paste it as a value for SWAP_HOST_FEE_ADDRESS just like you did before but for the host address.
This one is used to distribute fees to you as the application host.
Step 7:
Your app environment variables should be ready now.
Let's try to swap some tokens.
Remember you can use test net first to make sure everything ok.
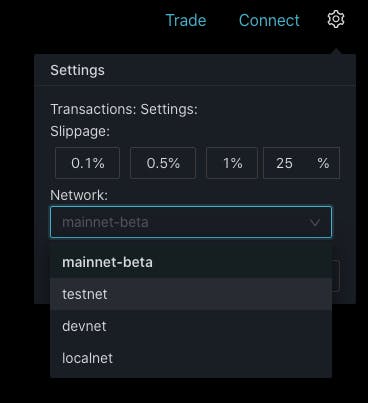
Run yarn start navigate to http://localhost:3000/#/ and click on connect.
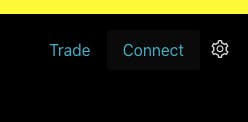
You should be able to connect your wallet. If you have funds you can try swapping. Cogratulations, it is working!
Step 8:
The goal of this tutorial is actually creating your own app so you probably want to customize it.
Go ahead and take a look at https://ant.design/.
Ant Design is a design system that contains well-design React components out of the box.
Step 9:
Now it's time to show the world you you have created.
You can deploy your app using GitHub Pages and it is as simple as running this command yarn deploy
After running the command go to yor GitHub repository and click on settings.
Then click on "Pages" so you can see the public url for your project which should look pretty similar to this:
In case you want to use your own server, you should run yarn build and then deploy the public folder. Remember to set the env variables for your server.
--
And that's it!
Cogratulations your AMM is now up and running!
Please let me know if you have questions and have fun swapping your tokens!